
Practical guide · Litter & cleaning
How to clean a litter tray
Build a practical litter-tray cleaning routine: scoop, empty, wash, rinse and dry. Separate everyday cleaning from veterinary infection-control instructions.
The short answer
Scoop frequently, then wash and dry fully
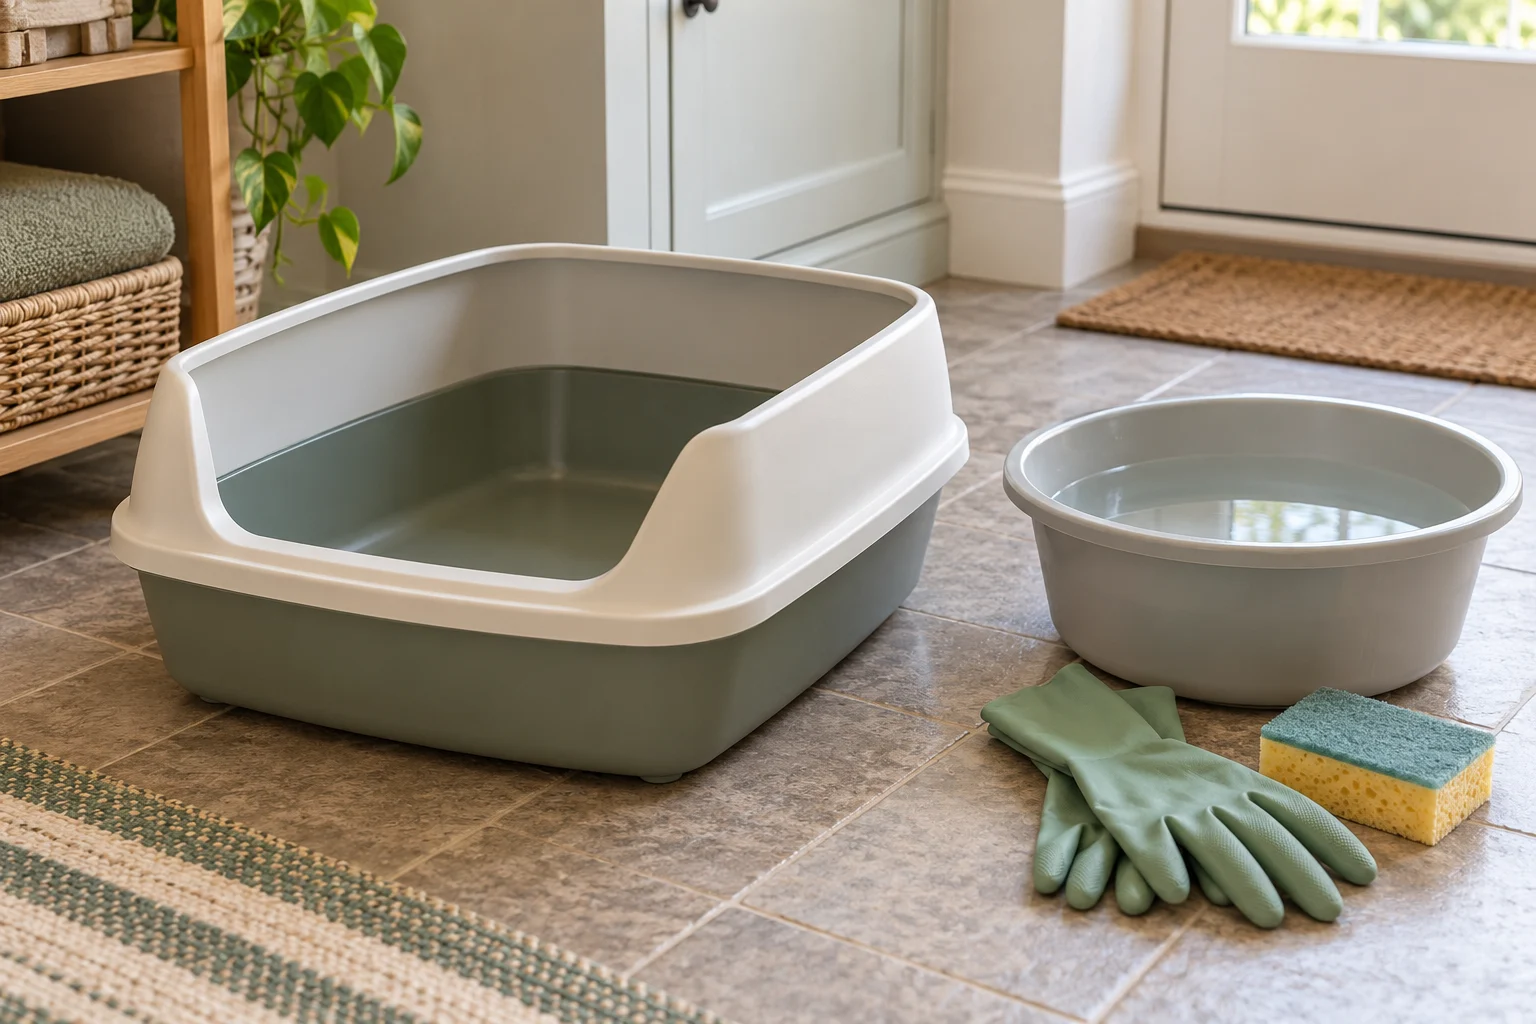
Keep the tray usable between full washes by removing waste at least twice a day and whenever it is soiled. For a full clean, empty the litter into the appropriate household waste, wash the tray with hot soapy water or a suitable cat-safe product, rinse thoroughly and dry before refilling. Keep another suitable tray available. A routine wash and a veterinary infection-control procedure are different tasks.
A clean litter tray needs a routine that works on an ordinary busy day. The aim is a comfortable toilet your cat can reach and use, with waste removed promptly and a full wash that leaves no cleaner residue. Buying a new tray is less useful than making those steps easy to repeat.
Start with the tray and litter you already use successfully. A sudden change of tray, location, scent and litter at the same time can make it difficult to tell what the cat dislikes. Change only what needs changing, and retain a familiar clean option while equipment is being washed.
Separate scooping from a full wash
Scoop faeces and urine clumps at least twice a day, and sooner when you notice soiling. With non-clumping litter, follow the maker’s removal and replacement instructions rather than stirring wet material through apparently clean litter. Top up only as appropriate for that litter; adding fresh material does not make a dirty tray clean.
Plan a full clean at least weekly, with extra cleaning when needed. This is a starting routine, not a promise that every tray stays acceptable for seven days. A heavily used tray, spill, illness or damp litter may require attention earlier. Inspect a covered tray as carefully as an open one because a hood can hide the condition from you.
| Task | What to look for | Practical action |
|---|---|---|
| Each scoop | Waste, damp areas and residue on the sides | Remove promptly using the litter’s instructions |
| Full wash | Dirty corners, joins, hood and base | Empty, wash, rinse and dry all permitted parts |
| Around the tray | Tracked litter, wet mats and floor splashes | Clean separately and let the area dry |
| Equipment check | Cracks, rough edges and deep scratches | Repair only as supported or replace the damaged part |
Prepare the area before emptying
Have a waste bag, a dedicated scoop, gloves if you use them, a soft cleaning tool and suitable washing supplies ready. Keep these separate from food preparation equipment. Choose a place where litter and dirty wash water can be handled without contaminating food surfaces, and keep children and other pets clear of the cleaning area.
Leave another suitable litter tray accessible. Do not remove every toilet while a slow-drying tray or hood is out of action. In a small home, a spare tray can be especially useful on cleaning day, but it still needs an appropriate position. See where to put litter trays in a small home.
If handling used litter is unsuitable for you because of pregnancy or a health condition, arrange help and follow your healthcare professional’s advice. Wash hands after the task even when gloves have been worn.
Empty and dispose of litter carefully
Place the bag close enough to avoid carrying an open scoop across the room. Empty slowly so dusty material is not tipped from a height. Do not shake the tray vigorously or use a household food utensil to remove stuck litter. Seal waste and follow your council’s disposal rules and the litter packaging.
Keep litter, clumps and solid waste out of toilets, sinks and drains. Remove loose material before washing so it does not become a heavy slurry. A litter disposal bin may make daily scooping more convenient, but its refill bag still needs the correct final disposal route.
Wash, rinse and dry the whole tray
Use hot soapy water or a suitable cat-safe cleaner according to its instructions. A soft sponge or dedicated brush helps reach corners without gouging the surface. Work around the rim, underside and any removable joins. Separate a hood or insert only in the way the maker allows; trapped residue at a seam can survive an otherwise careful wash.
Avoid heavy perfume and phenol-based products. Do not mix cleaning chemicals. A cleaner’s stronger smell is not evidence of a cleaner tray, and increasing the concentration can leave more residue for the cat to contact.
Rinse thoroughly until no suds or cleaner remain, then allow all parts to dry. Wet corners can turn fresh litter into paste before the cat has used it. Check the scoop and mat too; putting a clean tray beside a dirty tool or damp mat quickly undermines the work.
For a steel tray, avoid abrasive pads or products the maker excludes. For plastic, do not scrape hard with a metal edge. If deep scratches, cracks or rough areas make cleaning unreliable, compare steel trays or another suitable replacement by usable space and entry height.
Equipment that can make the routine easier
A smooth open pan and a scoop that suits the litter are practical examples, rather than essential purchases for every home. The selected Suhaco pan has a 15 cm side height: check that entry suits your cat instead of treating a steel finish as the deciding feature.
More floor area in a simple open pan
Suhaco stainless-steel litter pan, 60 × 40 × 15 cm
A longer open steel pan with the same listed 15 cm rim height as the smaller Petslucent option. It provides more outside floor area, although the usable base is smaller than the outer rim and entry remains a full step over the wall.
Check: No lowered entrance
View on Amazon ↗The WePet scoop is a rigid aluminium option. Its slots must suit the litter grain and clump size, and its edge should not be used to gouge stuck material from a plastic tray. Hand-clean and dry the scoop after use; keep it in a clean holder away from the cat’s food and water.
A rigid scoop for everyday clump removal
WePet aluminium litter scoop, small blue handle
A cast aluminium scoop with a deep sifting head and a blue grip. Match the slots to your litter and use the edge gently so the tool does not gouge a plastic tray or break reusable clean pellets unnecessarily.
Check: Slot size must suit the litter
View on Amazon ↗Refill and return the familiar setup
Refill to the depth appropriate for your usual litter and your cat’s needs. Return the tray to its established accessible position, with the entrance clear. Confirm that a hood, clips or door are correctly fitted if you use them; a loose assembly can move or make an unexpected noise when the cat enters.
Watch the next use without hovering over the cat. If avoidance appears after cleaning, check residual scent, dampness, a changed litter texture and whether the tray has moved. Repeated straining, pain or difficulty passing urine needs prompt veterinary attention rather than another cleaner or a different tray.
When illness changes the cleaning plan
Routine cleaning removes ordinary soiling. A vet may prescribe a different process when infection or parasites are involved, including a particular product and contact time. Ask which surfaces need treatment, whether a replacement tray is preferable and how to keep another toilet available during the procedure.
Do not translate a general household disinfectant label into a cat-health protocol yourself. Follow the vet’s instructions and the product label together, and clarify any conflict before use.
Before the tray goes back
0 of 5 checks complete.
The routine follows Cats Protection’s toileting guidance. For choosing the equipment itself, use how big a litter tray should be.
If the routine includes a disposal bin, use litter-bin refill compatibility before ordering liners. Preformed bags and continuous film require different loading and closure arrangements.
Frequently asked questions
How often should I clean a cat litter tray?
Remove waste at least twice daily and sooner when needed. Cats Protection advises a full clean at least weekly, with more frequent attention where the tray or litter requires it. The litter instructions, number of cats and actual soiling matter; a calendar interval is not a reason to leave a dirty tray in use.
Can I use bleach or disinfectant in a litter tray?
For ordinary cleaning, use hot soapy water or a product specifically suitable for the tray and cats, following its label. Do not mix cleaners or improvise disinfectant strengths. If illness requires disinfection, ask the vet for the exact product, dilution, contact time and rinsing procedure. Avoid phenol-based cleaners.
Should I put used litter down the toilet?
Do not flush litter or wash it into a drain. Bag it and use the waste route required by your local council and litter instructions. Even a package describing litter as flushable does not establish that it is suitable for your drainage or local waste arrangements.
Why does the tray still smell after washing?
Check corners, joins, the scoop, surrounding floor and any hood or mat. Rinse and dry fully, then consider whether scratched plastic or damaged joints are retaining residue. Strong perfume can mask a problem without removing it. Persistent changes in toileting behaviour deserve veterinary advice.
Is a stainless-steel tray easier to clean?
A smooth steel shell can make residue easier to see and remove, but size, entry height, corners and safe handling still matter. Use a non-abrasive method compatible with the exact tray. Steel is not self-cleaning and does not remove the need to scoop, wash and dry.